Role Management
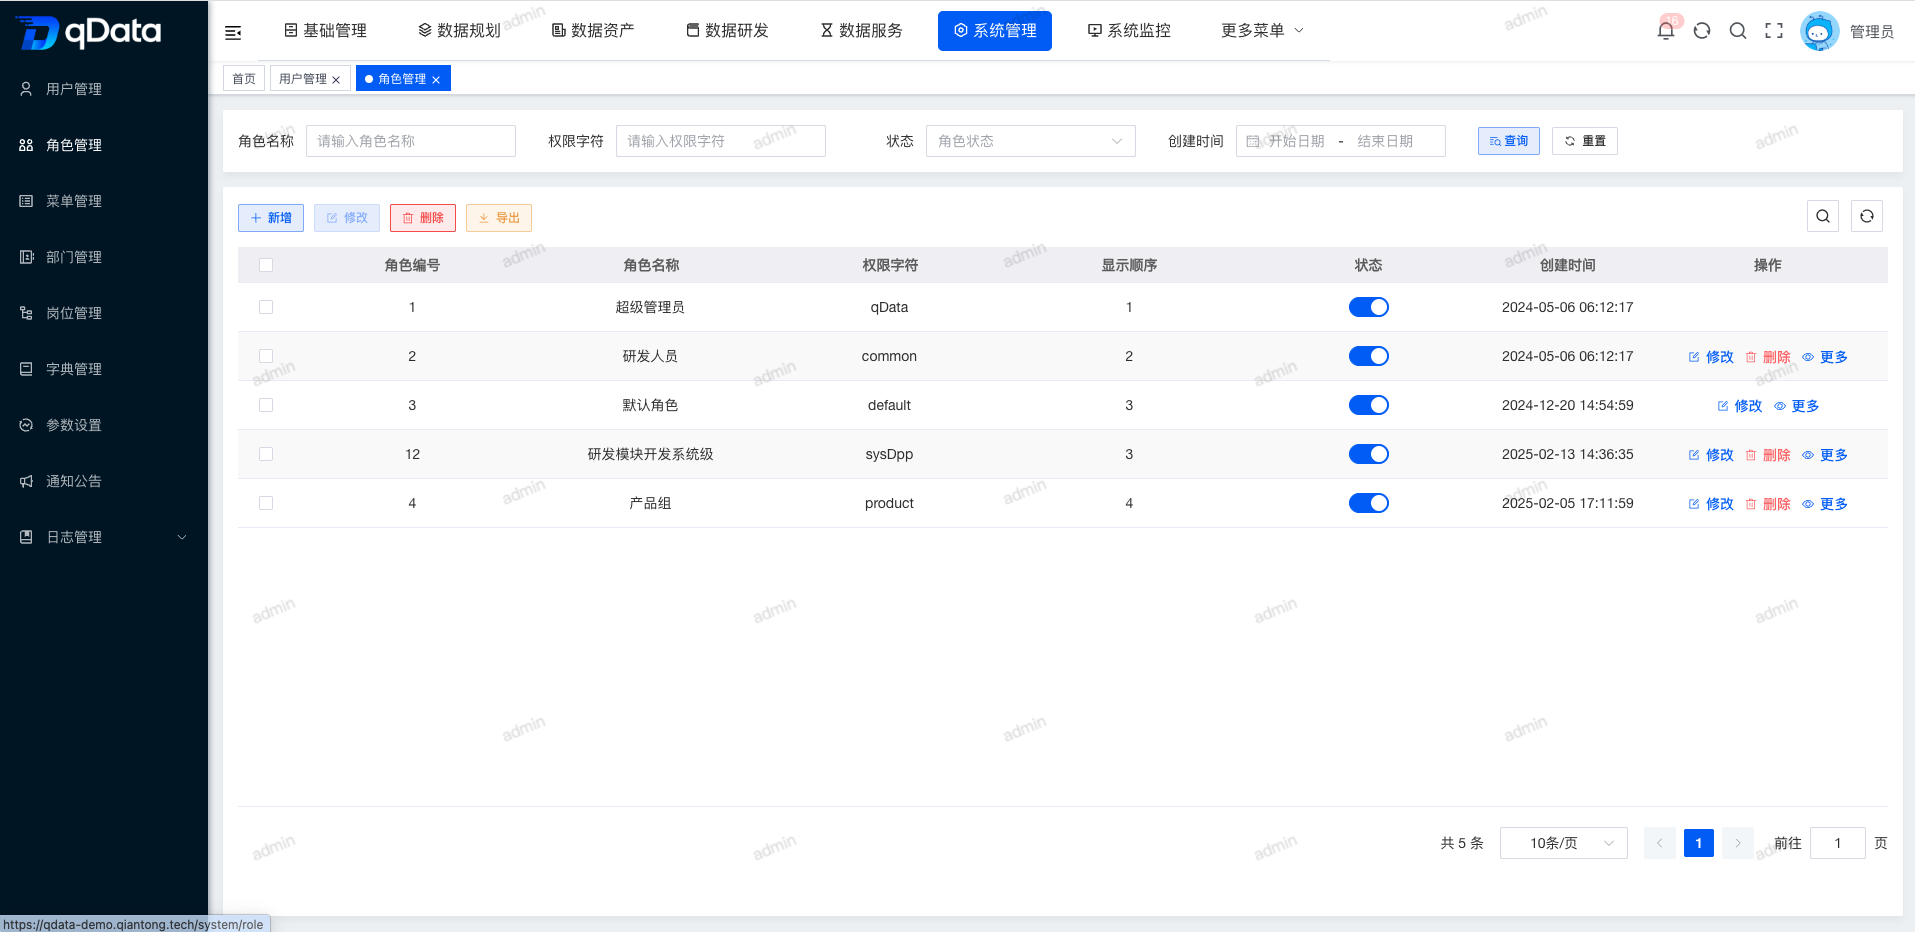
1. Role Management Page
Click Role Management under System Management to open the Role Management page. This page displays a list containing fields such as role ID, role name, permission character, display order, status, and creation time.
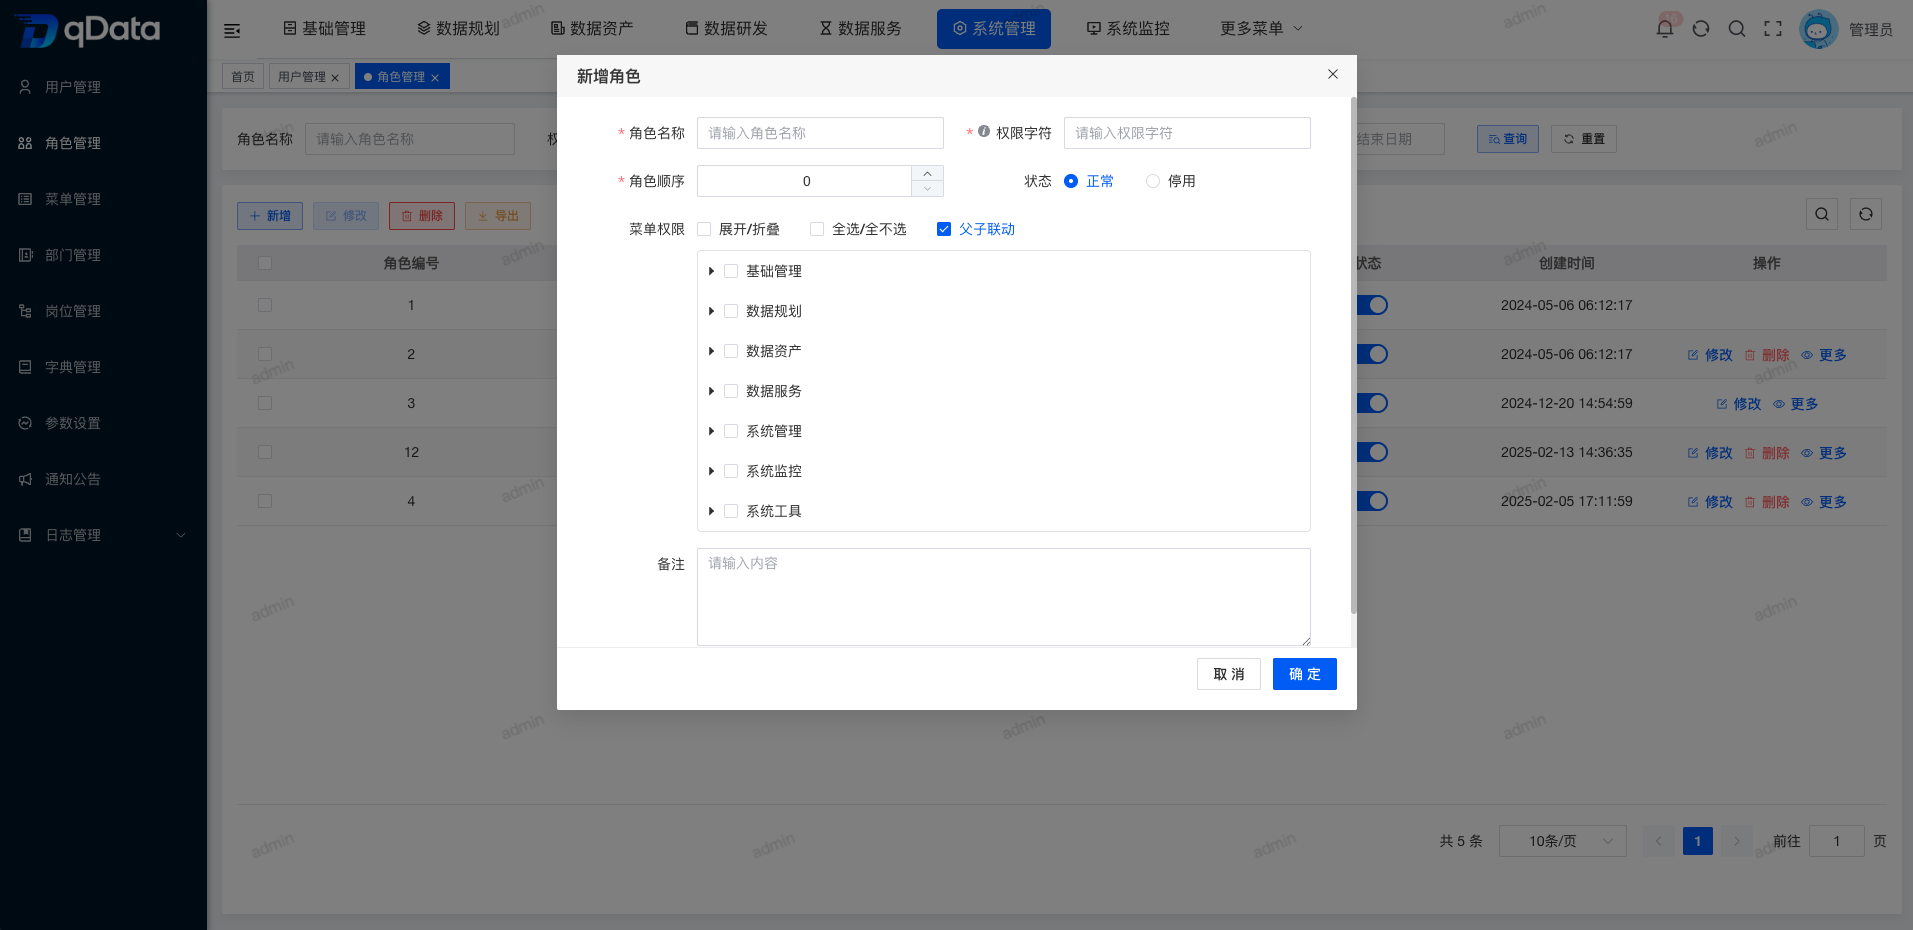
2. Add Role Information
Click the Add button on the page, fill in the role information in the dialog, and click OK to complete adding role information.
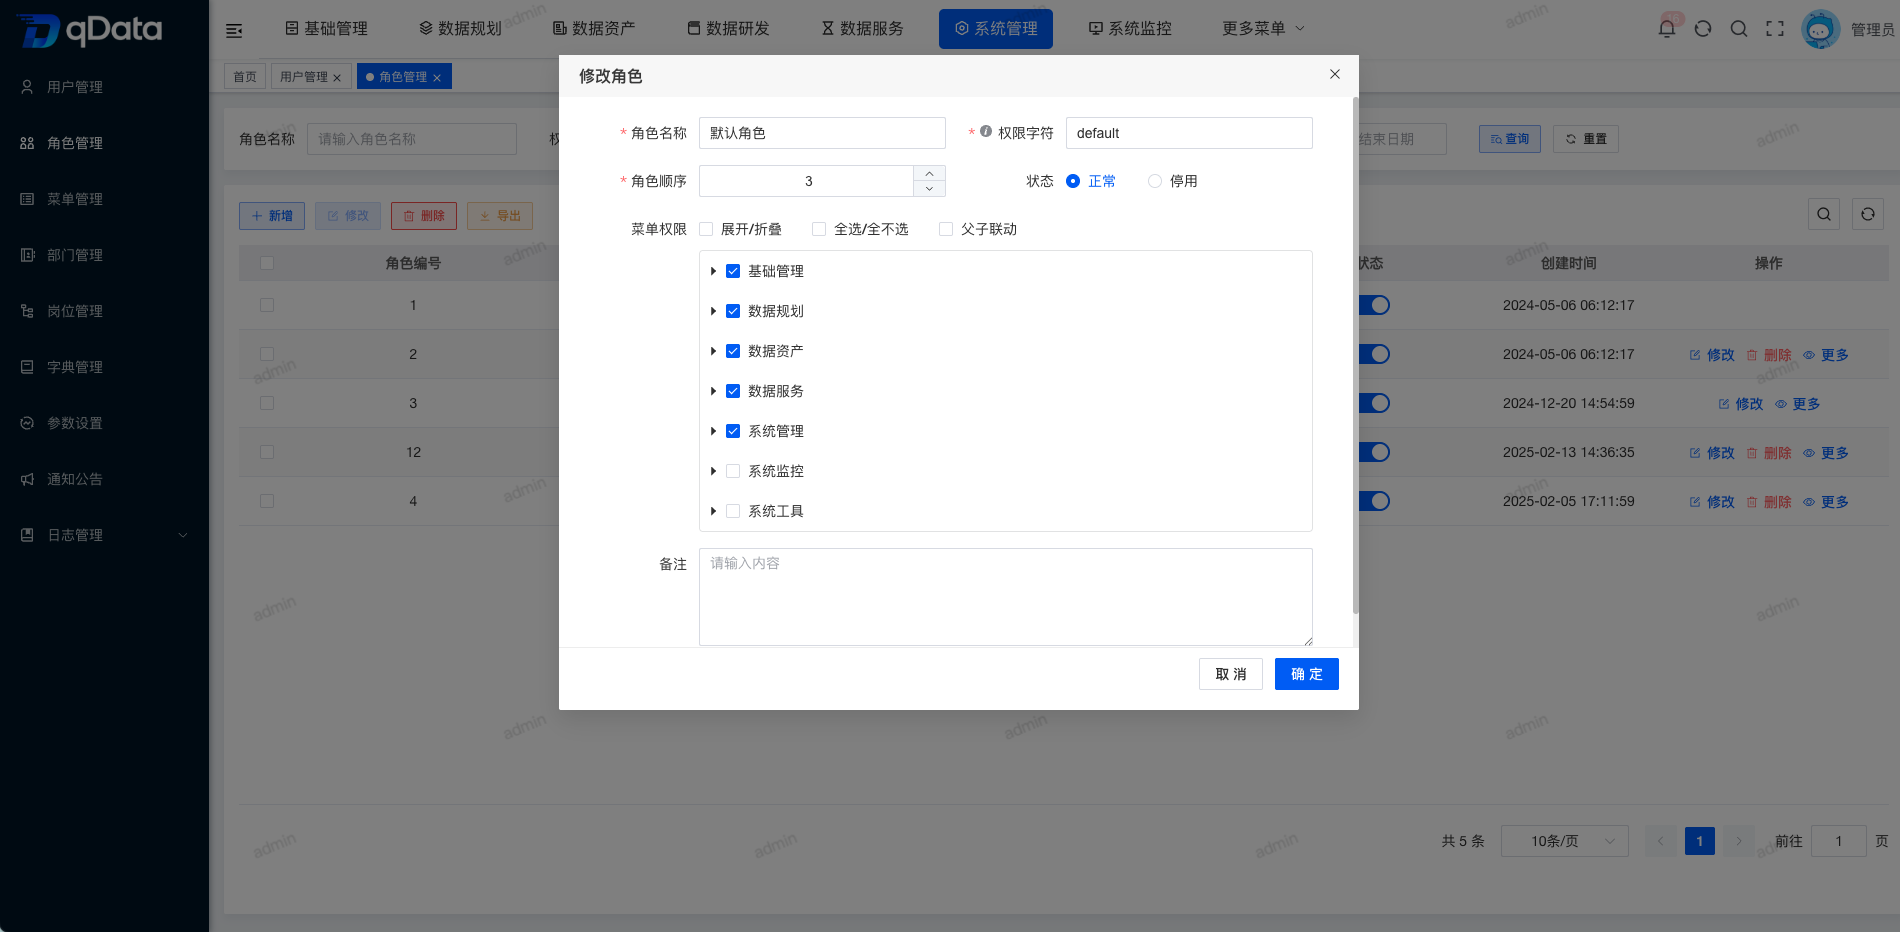
3. Edit Role Information
Select the role information to edit, click Edit in the operation column, modify the existing role information in the dialog, and click OK to complete editing role information.
4. Delete Role Information
Select the role information to delete, click Delete in the operation column, and click OK. The system will delete the role information.
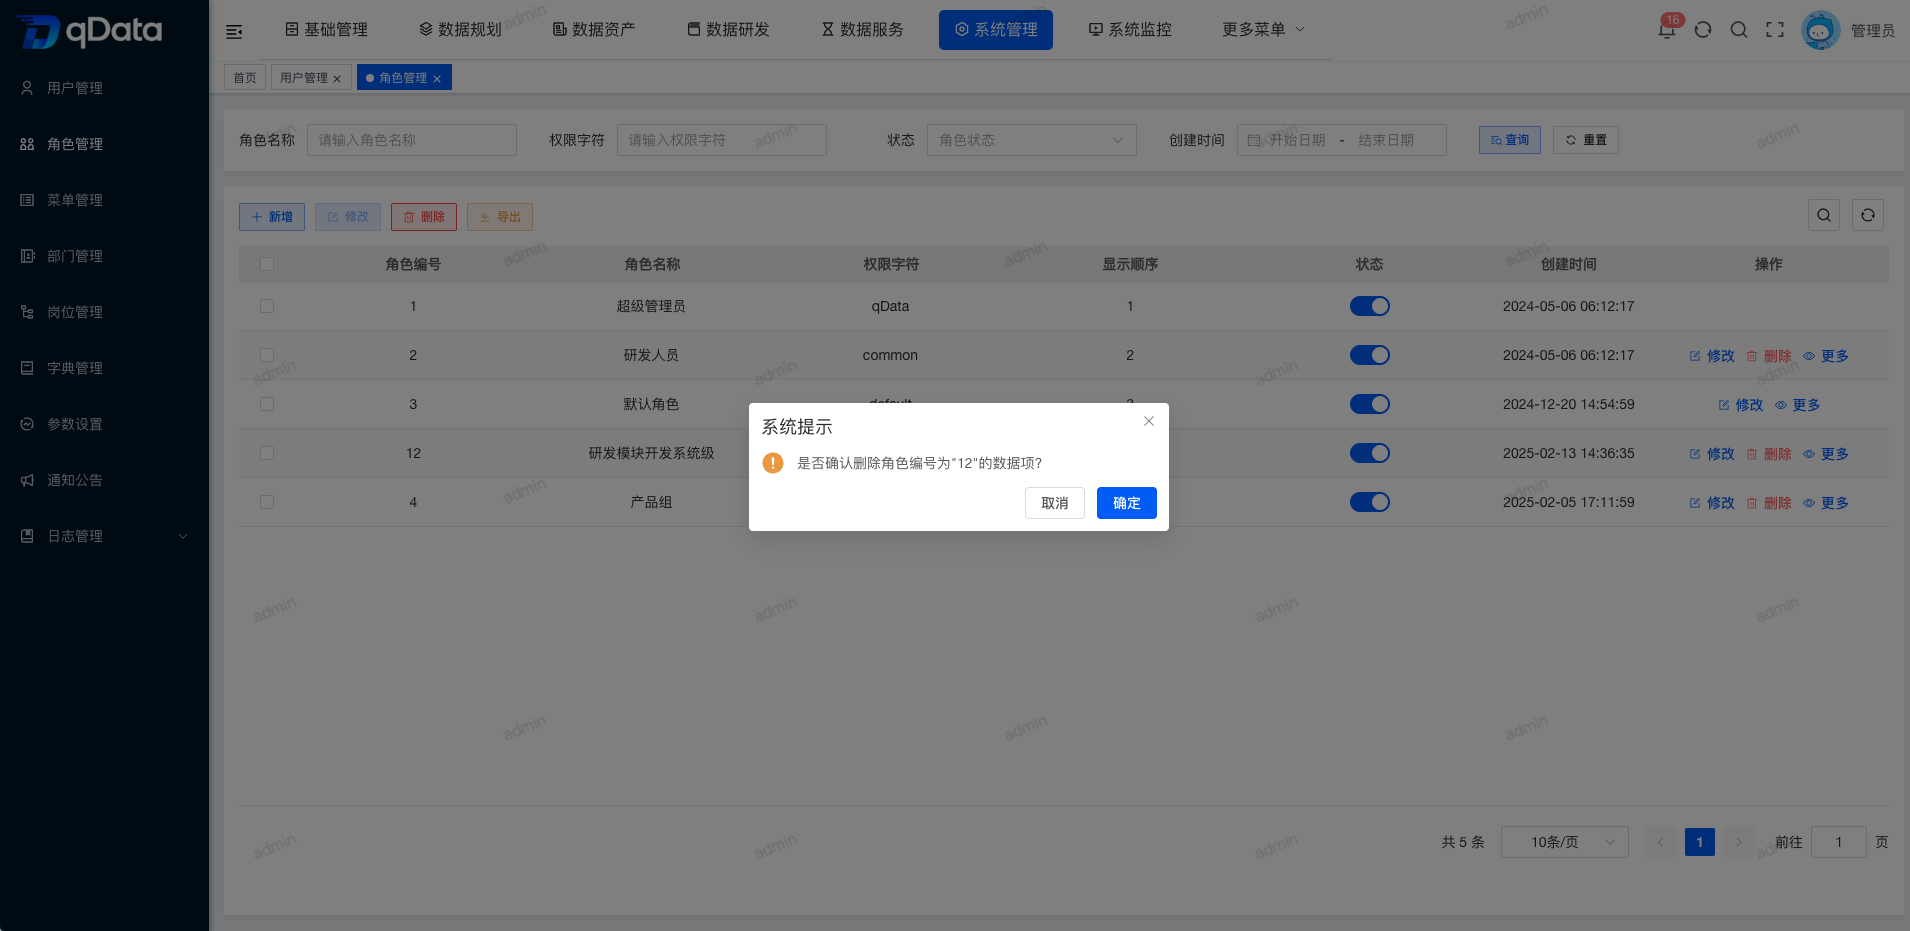
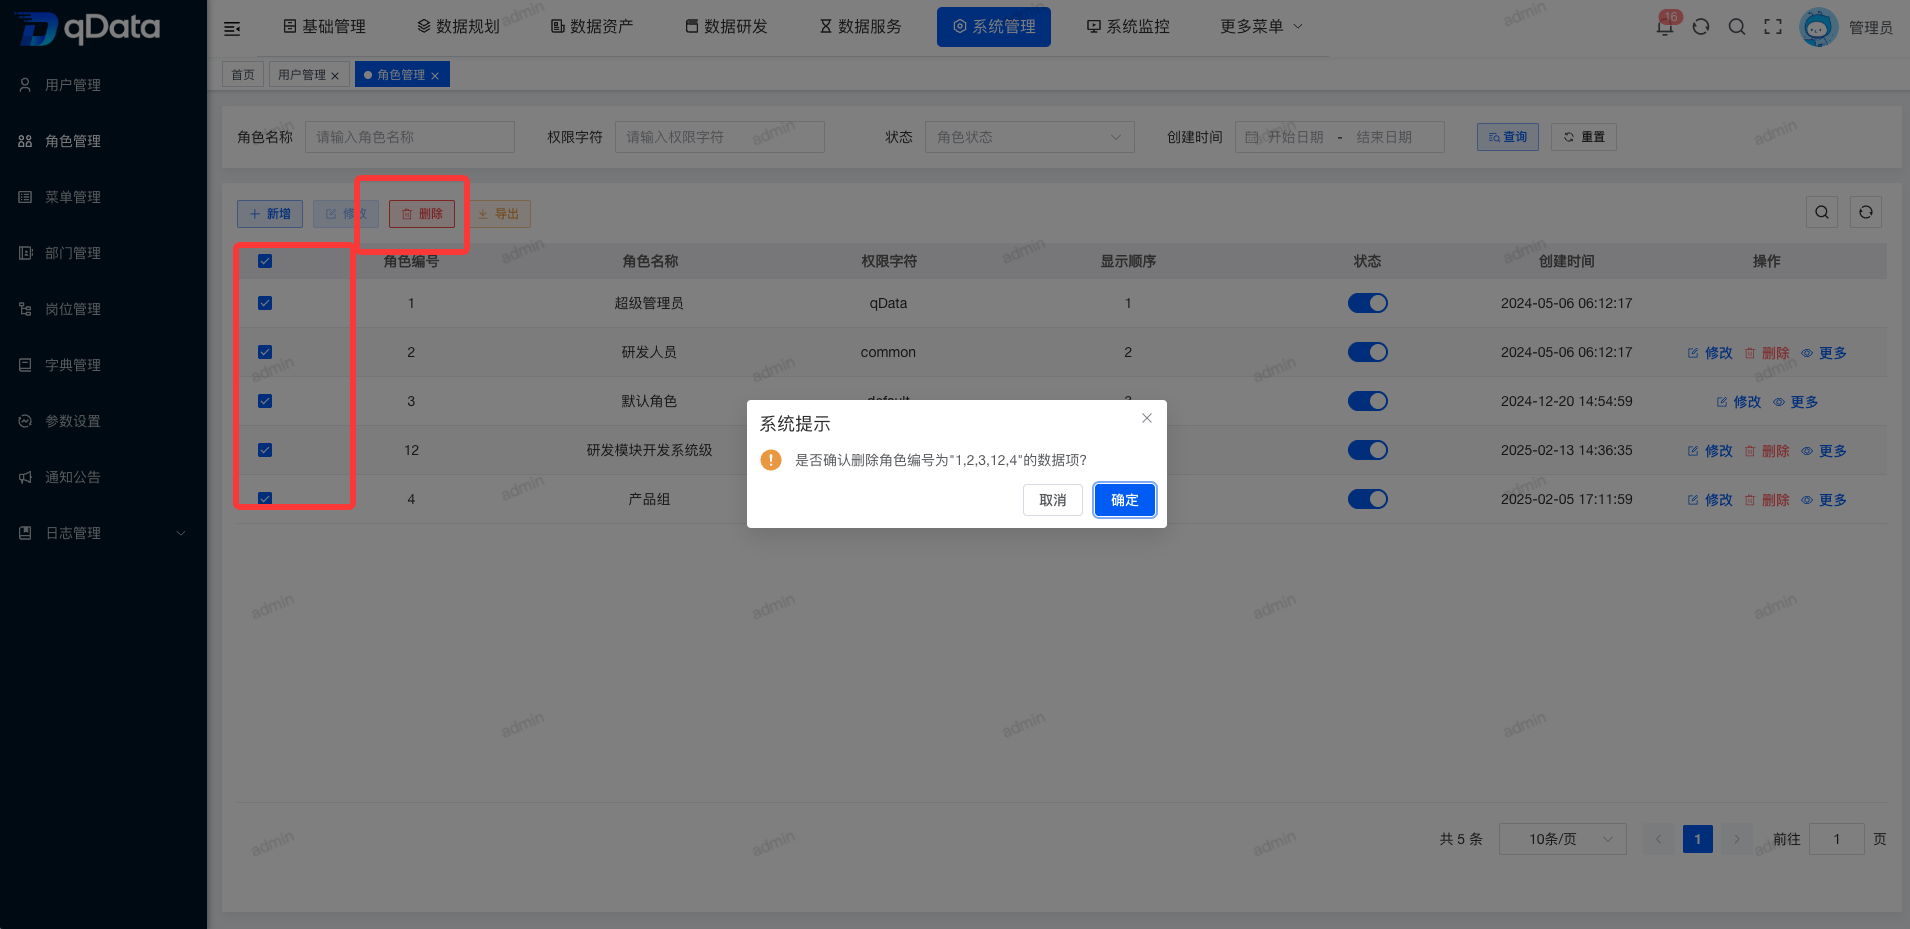
5. Batch Delete Role Information
Select multiple role checkboxes in the page list, click Delete, confirm the deletion in the dialog, and click OK to complete batch deletion of roles.
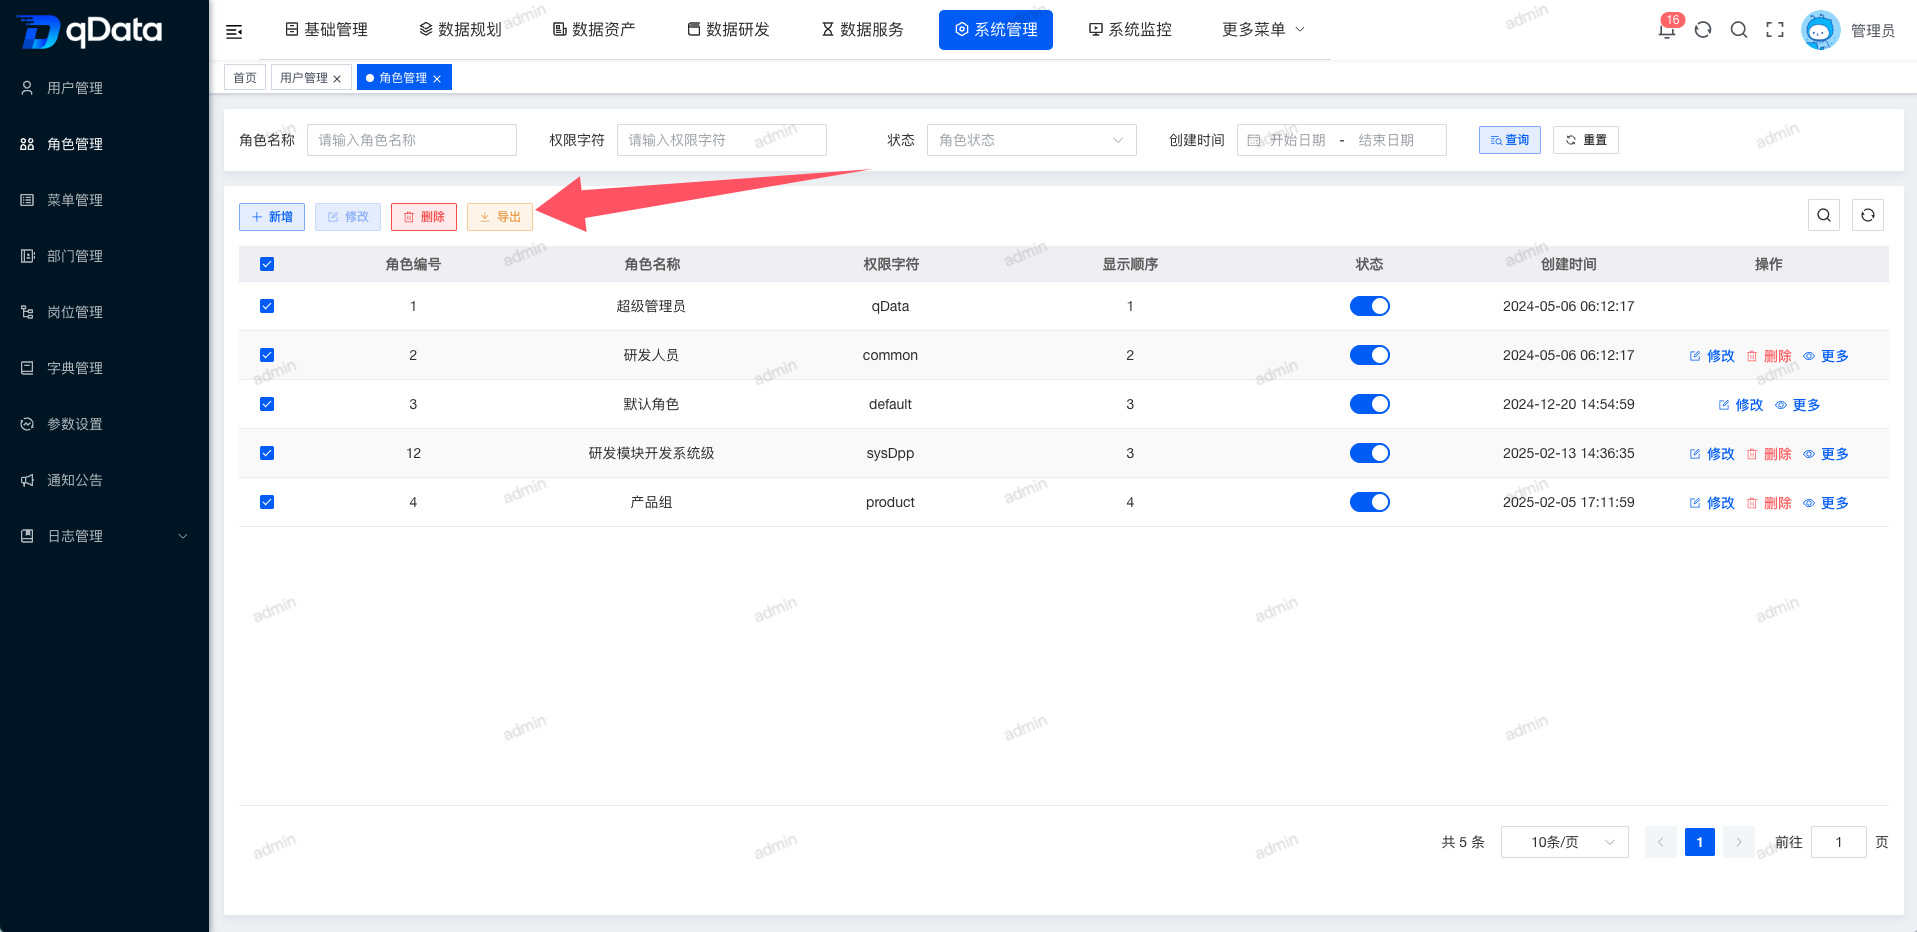
6. Export Role Information
Click the Export button on the page. The exported file will be downloaded automatically and can be viewed in the browser download list.
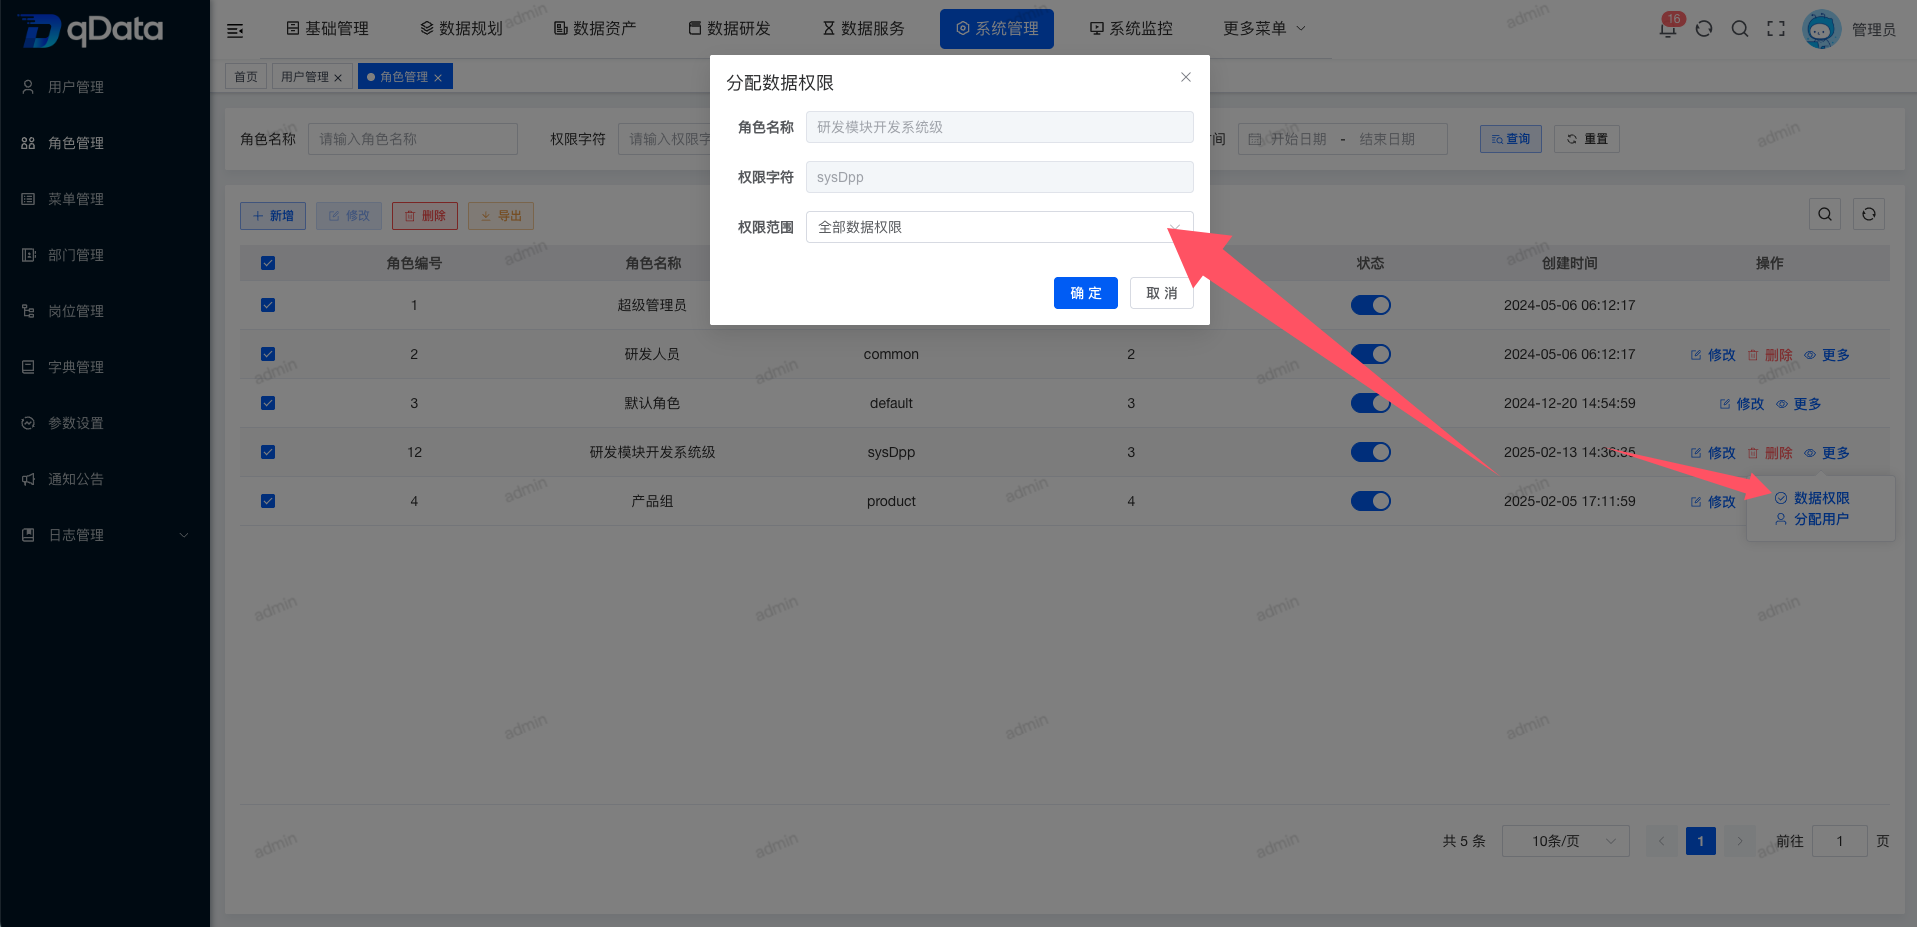
7. Data Permissions
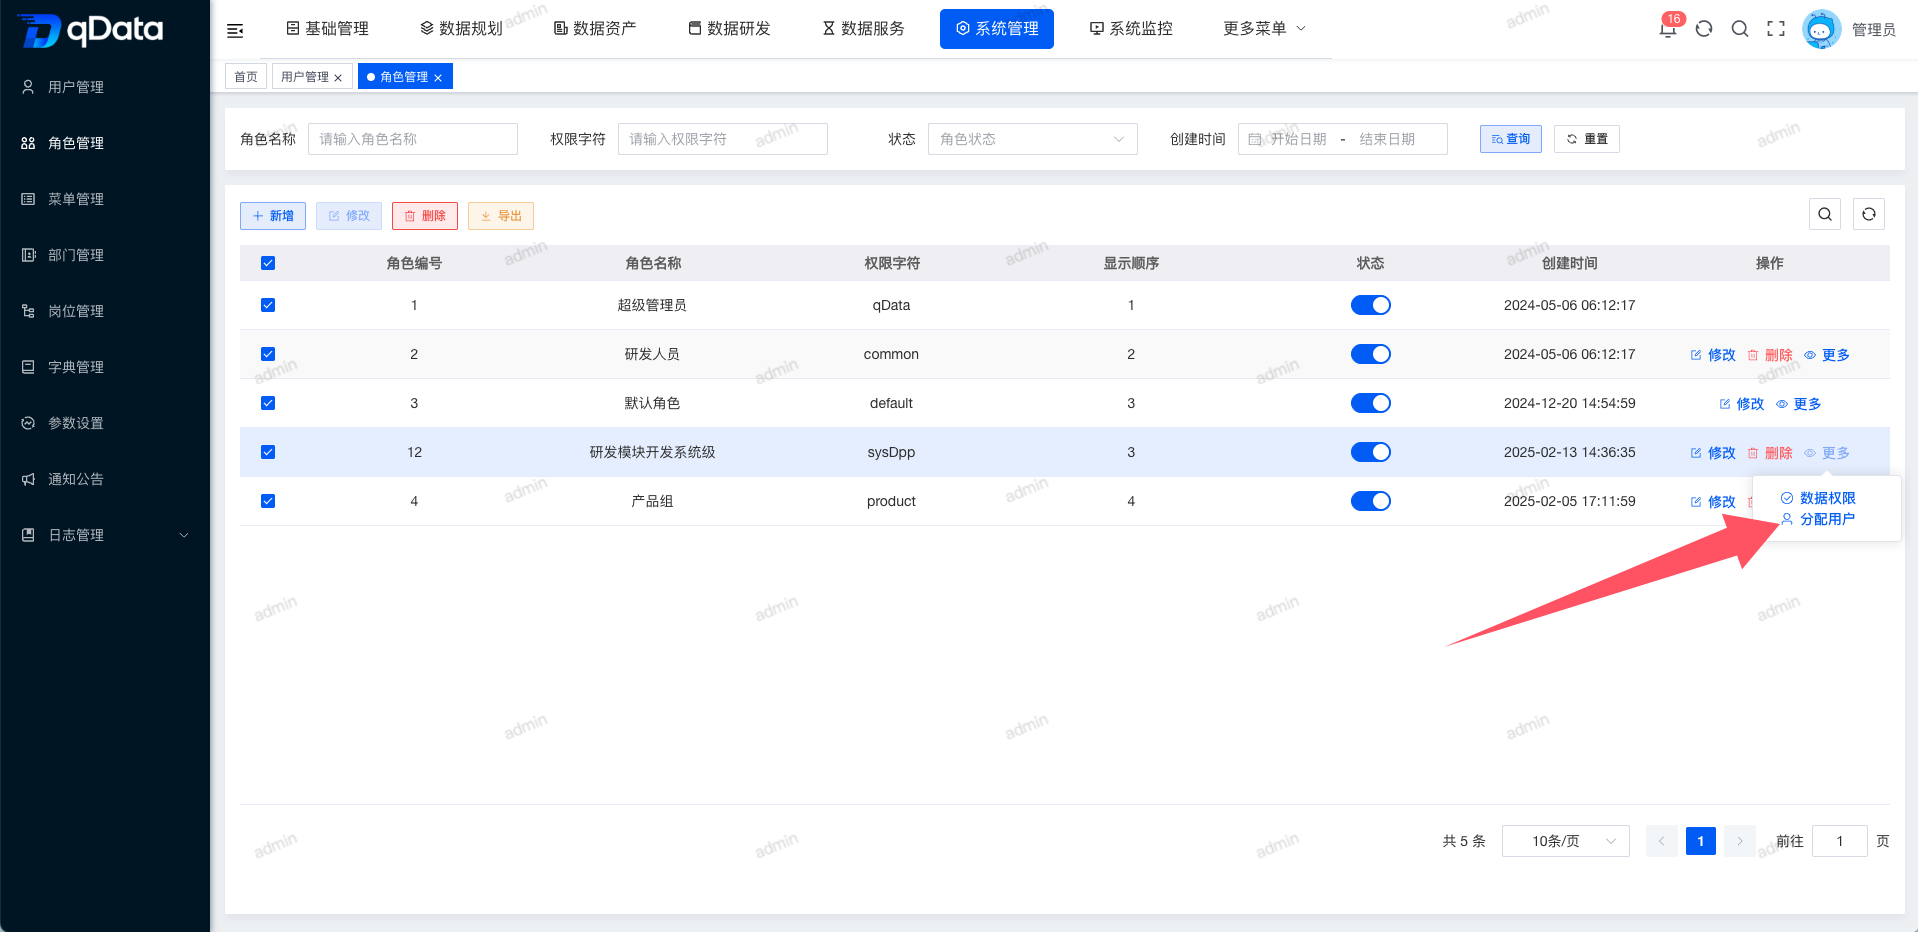
In the role list, click More for the target role and select Data Permissions. In the displayed settings dialog, select the required data permission scope and click OK to complete permission configuration.
8. Assign Users
8.1. Assign Users Page
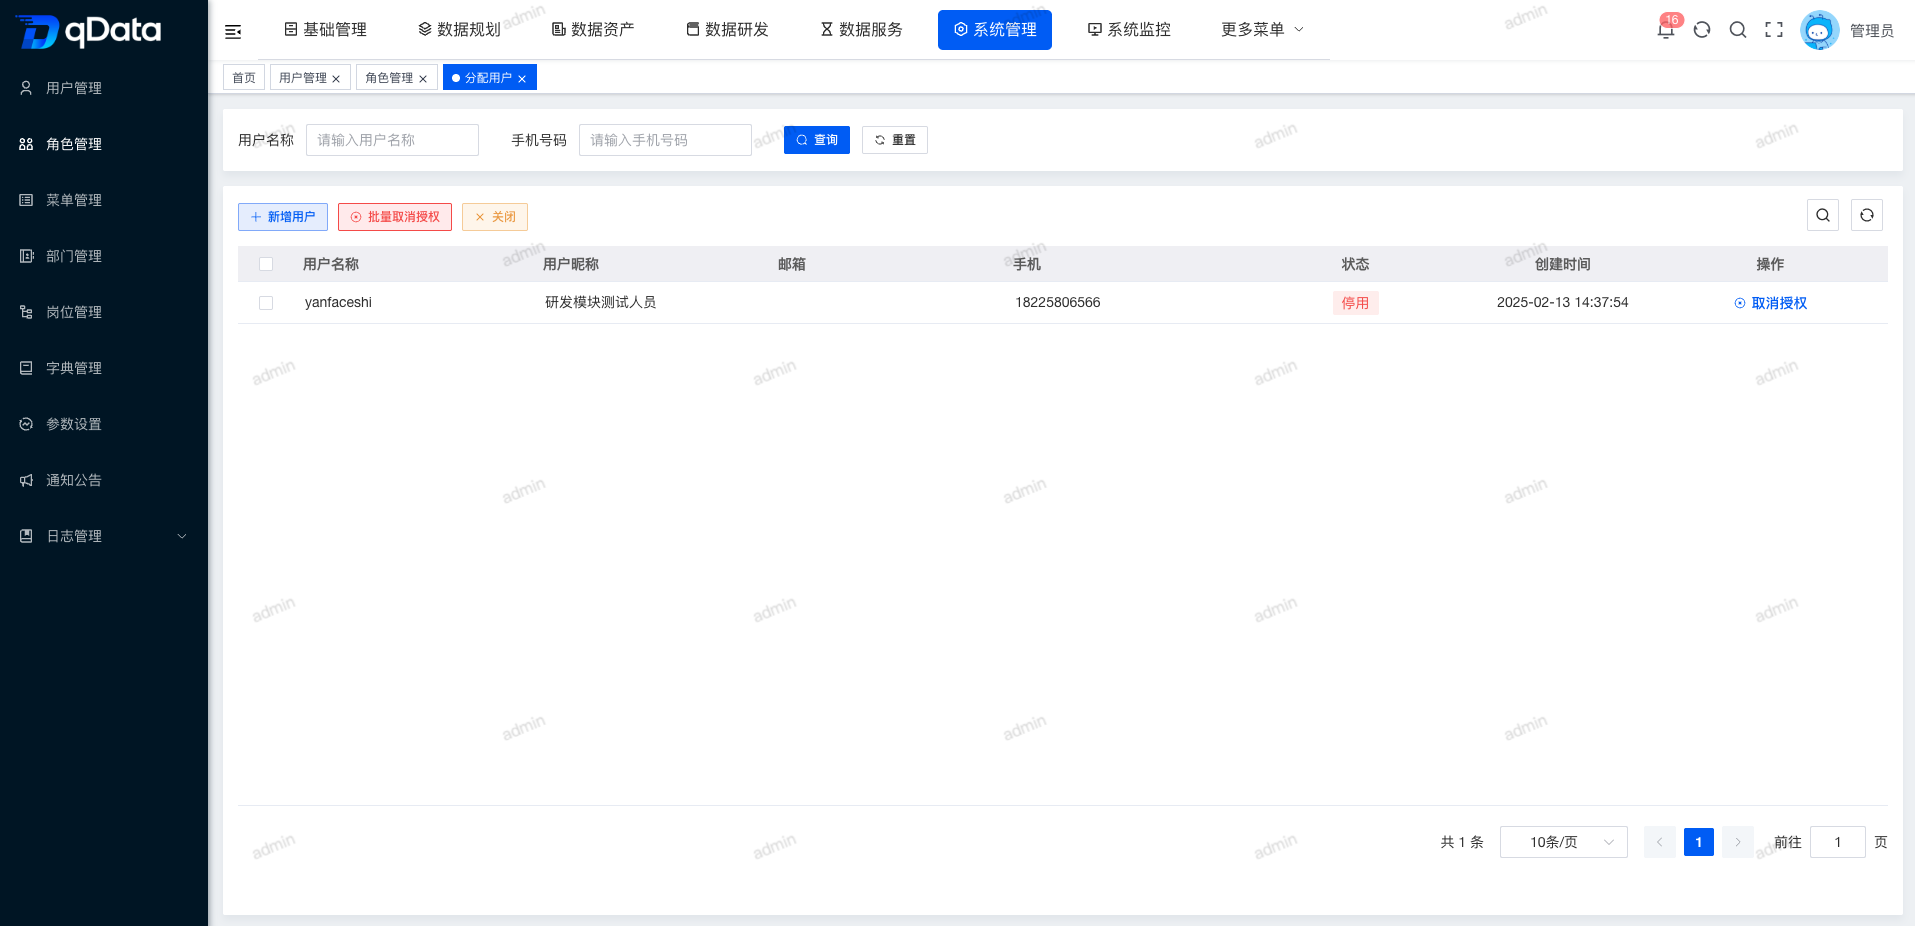
In the role list, click More for the target role and select Assign Users. The Assign Users page opens and displays a list containing fields such as username, user nickname, email, mobile phone, status, and creation time.
8.2. Add Users
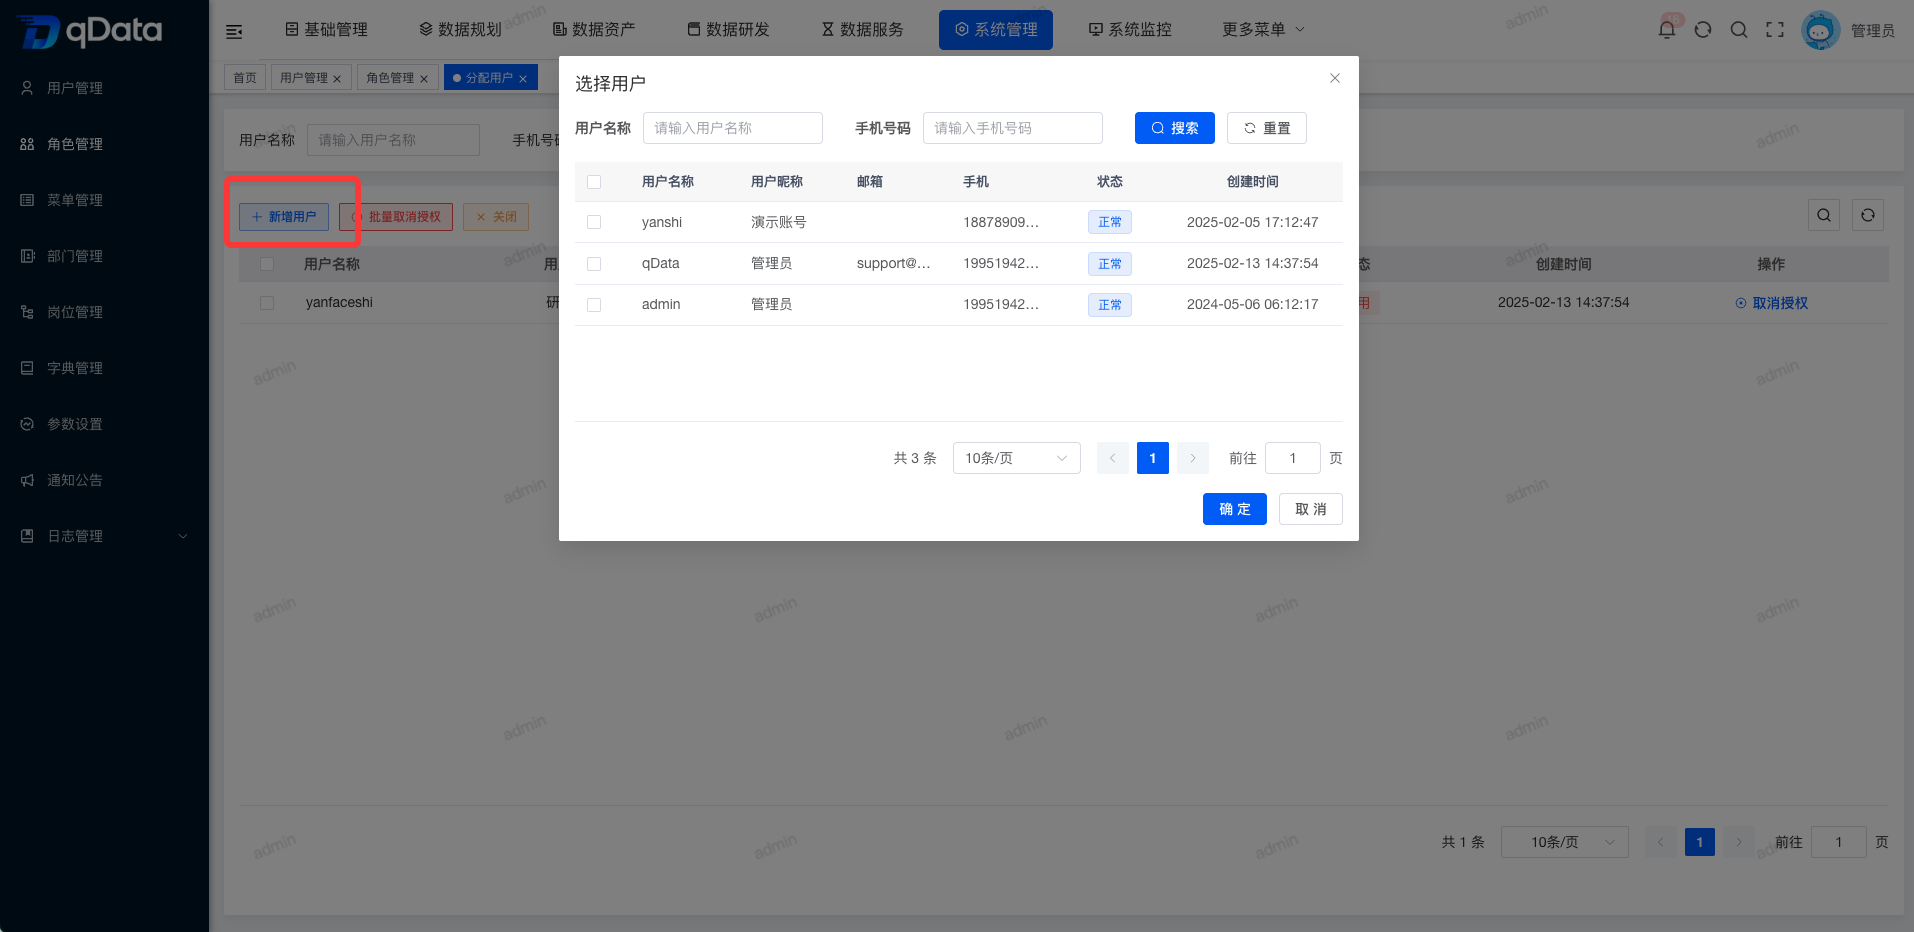
On the Assign Users page, click Add User. The system will display a user selection dialog. Select the users to add and click OK to add them to the current role.
8.3. Cancel Authorization
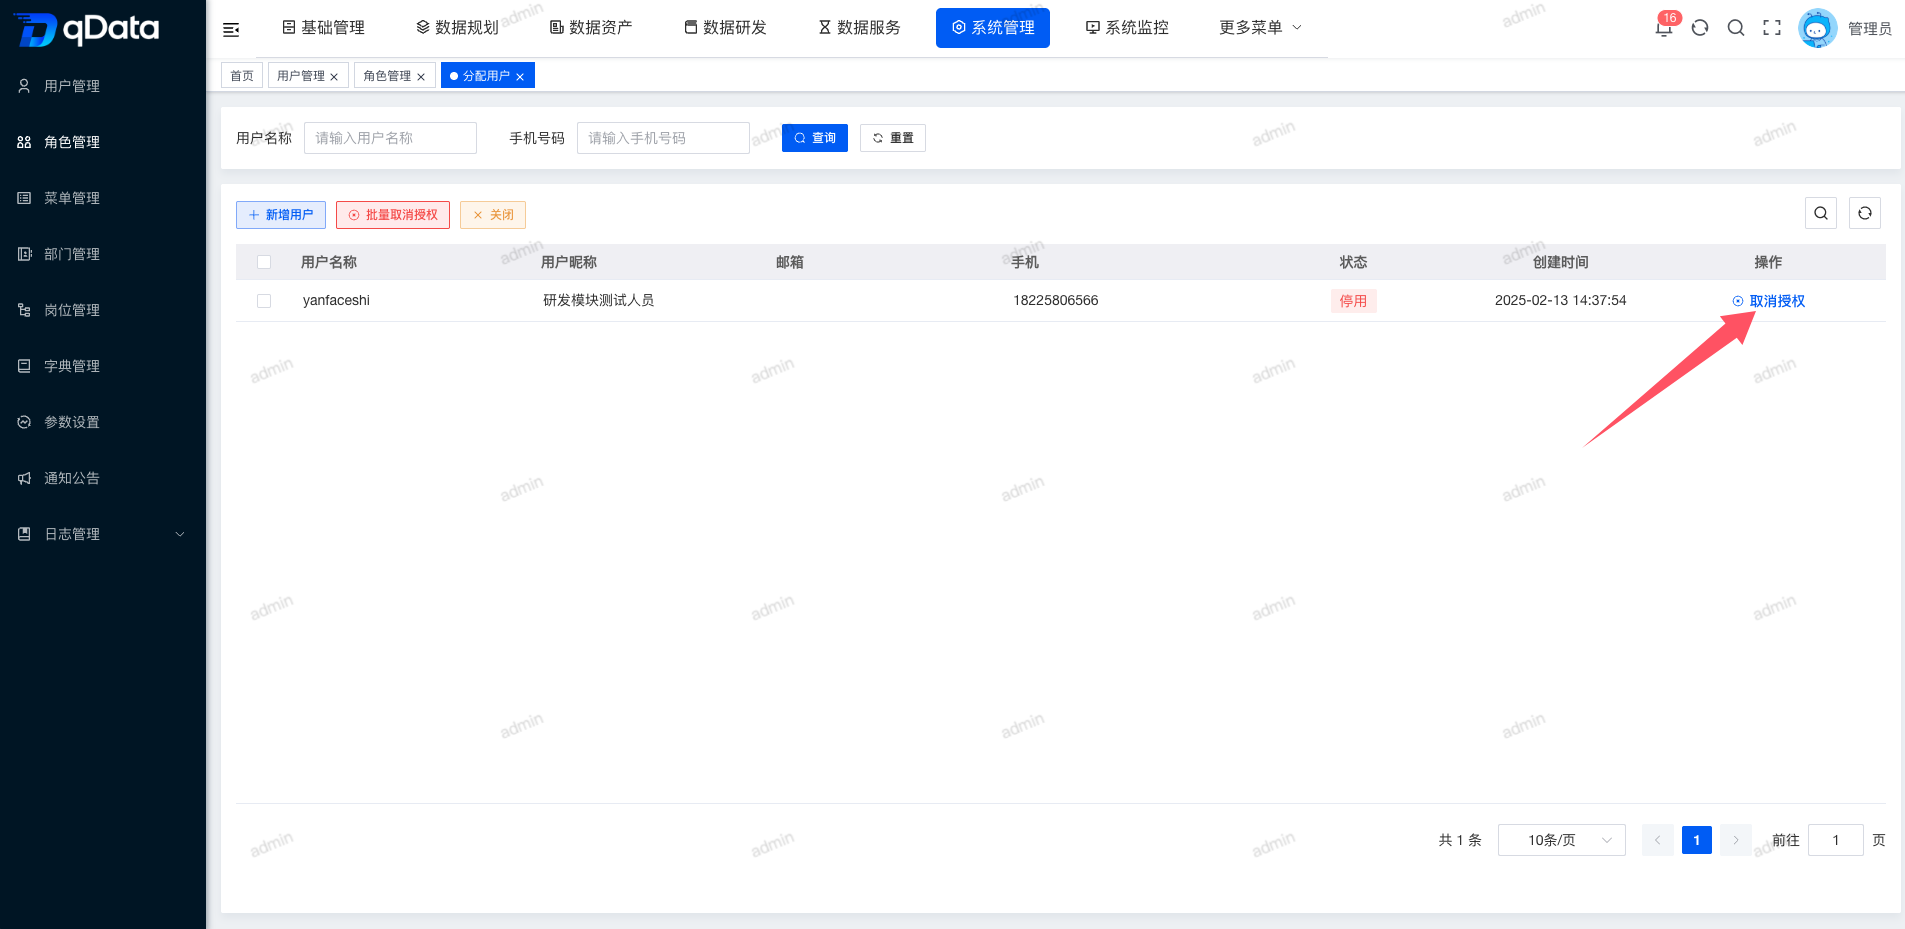
On the Assign Users page, click Cancel Authorization for the target user and click OK to cancel the authorization.
8.3. Batch Cancel Authorization
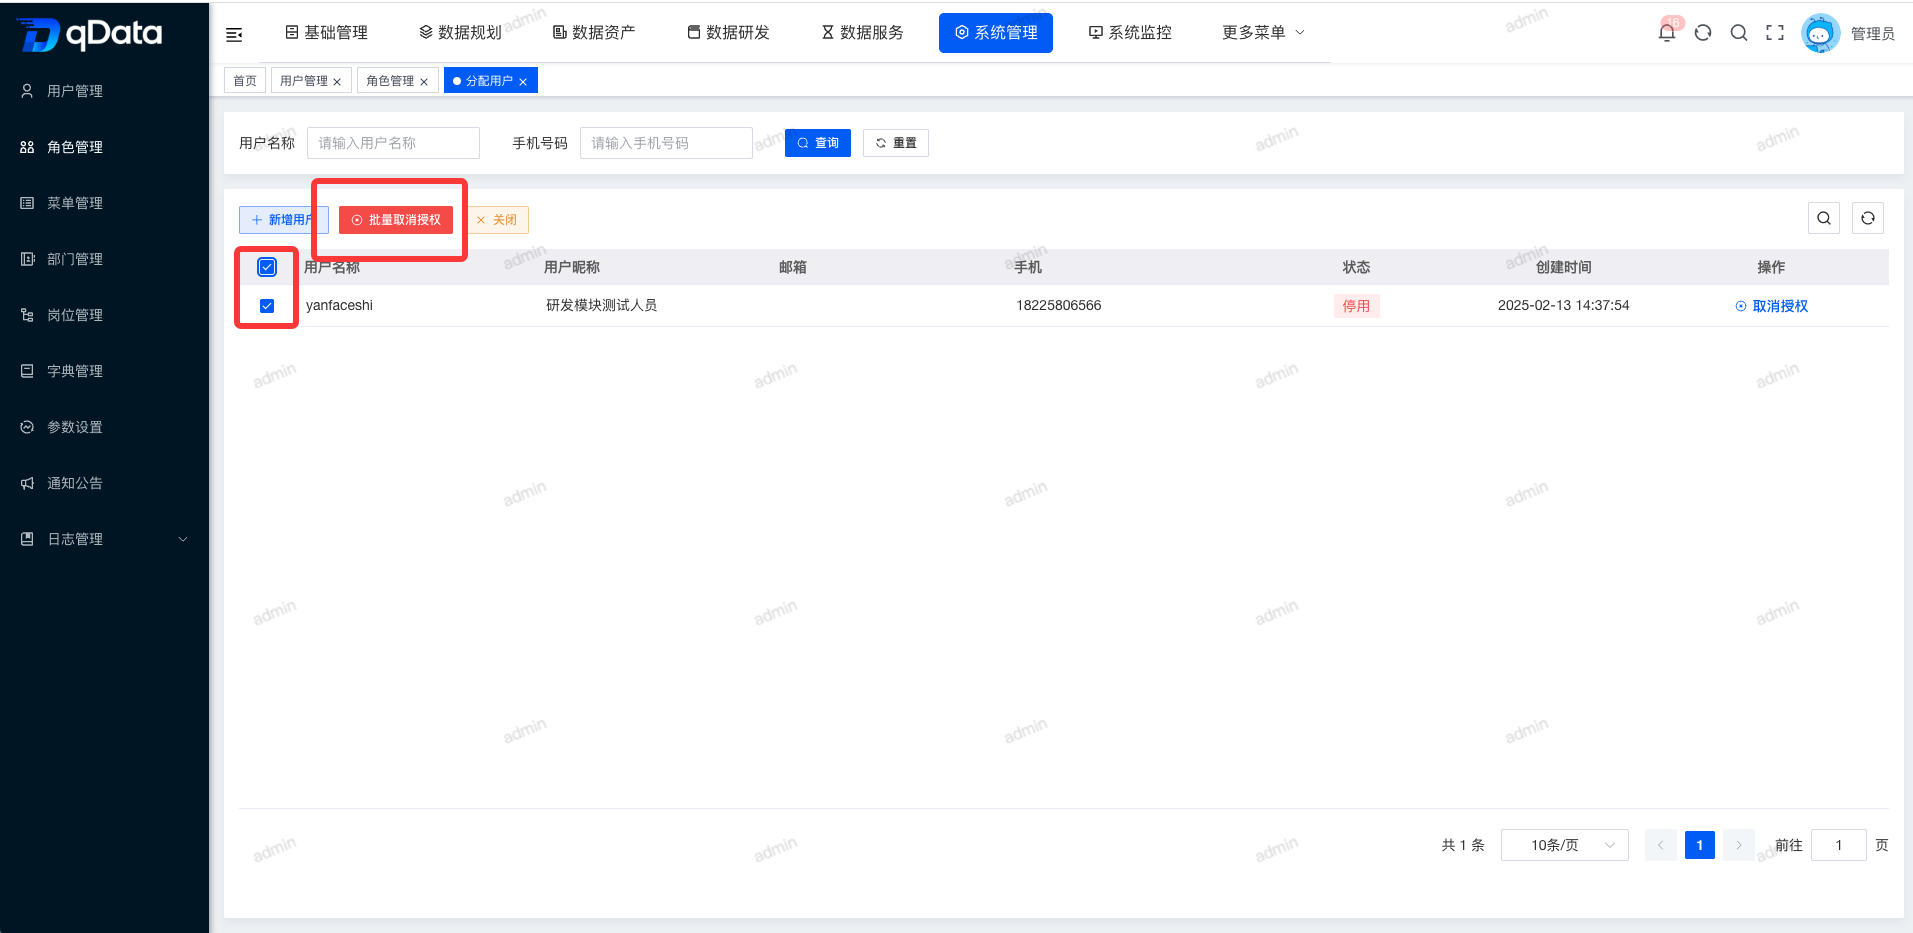
On the Assign Users page, select multiple user checkboxes in the list, click Batch Cancel Authorization, and click OK to remove authorizations in batch.
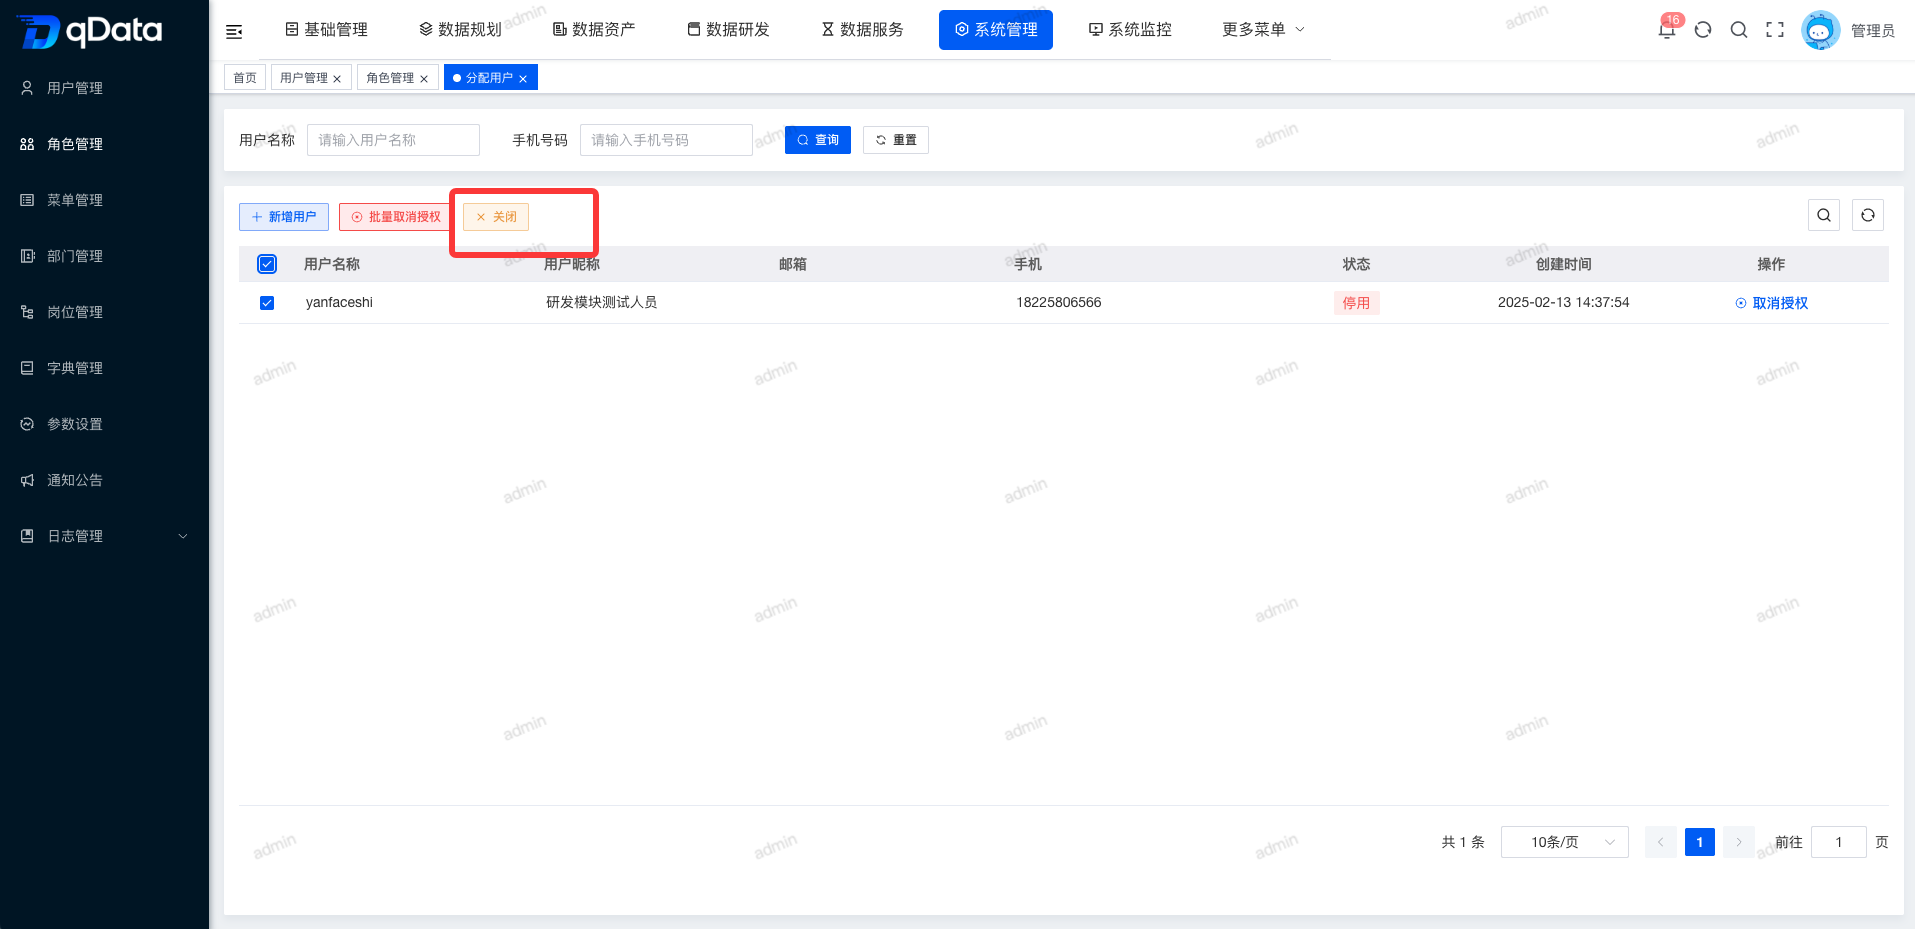
8.4. Close Assign Role Page
On the Assign Users page, click Close to close the Assign Role page.